
I liked how easy Sapporo was to navigate. Audrey and I walked plenty, but the subway did the heavy lifting when sights were farther away. We tapped through the gates with our Kitaca cards and even rode south to Makomanai before catching a bus into the outskirts.
The subway wasn’t difficult. Choosing how to pay is more interesting now, with options we didn’t use.

Sapporo Subway Lines: Which One Do You Need?
Sapporo has three colour-coded subway lines and 49 stations. All you need is the right line, direction and interchange.
- Namboku Line (green, N): Asabu to Makomanai, via Sapporo Station, Odori, Susukino and Nakajima-koen.
- Tozai Line (orange, T): Miyanosawa to Shin-Sapporo, via Maruyama-koen, Nishi-11-chome and Odori.
- Toho Line (blue, H): Sakaemachi to Fukuzumi, via Sapporo Station, Odori and Hosui-Susukino.

Odori is the easiest reference point: all three lines intersect there. Sapporo Station serves both the Namboku and Toho lines, although changing between them involves a slightly unusual gate procedure I’ll explain below. And don’t confuse Susukino with Hosui-Susukino; they’re separate stations on different lines.
It also matters where you stay. If your plans centre on the subway, compare hotels near Odori Station, where all three lines meet. JR Sapporo Station may make more sense if you’re taking regional trains, so I’d choose based on your wider itinerary.
Check the official subway route map before setting out.

How to Buy a Subway Ticket and Get Through the Gates
If you’re buying an ordinary ticket, look for the fare map above or beside the station’s machines. Find your destination, select the fare shown and pay. At the entrance gate, insert the ticket and pick it up as you pass through. You’ll need it again to exit. If you’ve paid too little, use a fare-adjustment machine or ask station staff.
A compatible transport IC card is less fiddly: tap at the entrance and exit gates and the fare comes off your balance. That’s how Audrey and I travelled. We’d used similar cards elsewhere in Asia, but I’d still allow time to get your bearings on a first ride.
You can also tap an eligible bank card, but look for the dedicated contactless reader, with blue guidance at the gate. It isn’t necessarily the same reader used for Kitaca or Suica. Use the same card or device when you enter and leave.

Sapporo Subway Fares and Day Passes: What’s Worth Buying?
Ordinary fares
A single adult subway ride costs ¥210–¥380, depending on the journey. Child fares range from ¥110–¥190. Prices depend on the journey.
This is where I’d resist buying a pass automatically. If you make two short ¥210 rides, that’s ¥420. Even three of those rides come to ¥630, well below the ordinary weekday day-pass price.
Subway day passes
Two subway-only products are worth knowing about:
- Subway One-Day Ticket: ¥830 for adults or ¥420 for children on ordinary weekdays.
- Donichika Ticket: ¥520 for adults or ¥260 for children on eligible Saturdays, Sundays, public holidays and December 29–January 3.
They cover unlimited subway rides on their valid day, not buses or streetcars. Physical passes require cash, not credit cards or IC-card balances, and don’t qualify for certain subway-to-bus or streetcar transfer discounts.
The arithmetic is less mysterious than it sounds. Three ¥290 weekday rides cost ¥870, so the ¥830 pass saves ¥40. On an eligible weekend, two ¥290 rides cost ¥580, making the ¥520 Donichika ticket cheaper. Change those to two ¥250 rides, however, and paying separately costs just ¥500. It pays to check the actual journeys instead of following a blanket ‘buy the pass after two rides’ rule.
Kitaca, Suica and Bank-Card Tap-to-Pay
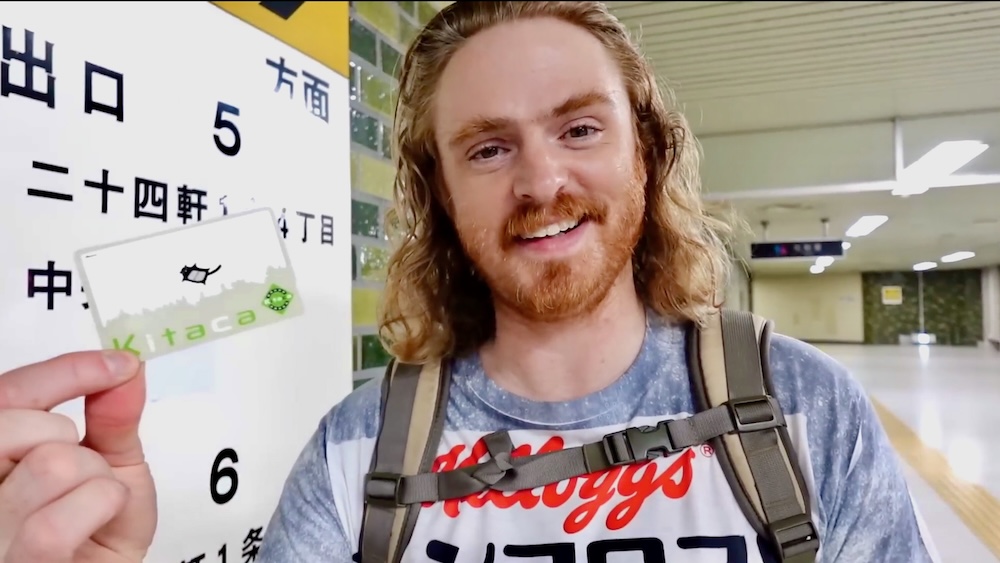
Our choice was Kitaca. Audrey and I tapped through the gates, recharged our cards when necessary and got on with sightseeing. Suica, PASMO, ICOCA and other compatible Japanese IC cards also work on the subway, so if you’ve brought one from elsewhere in Japan, you generally don’t need to buy a new card. Buying and recharging are covered in my Kitaca card guide.
But there’s a newer option that changes my advice for an adult visitor making subway-only journeys. Eligible contactless bank cards and devices—including supported Visa, Mastercard, JCB and American Express payments—can be used directly at the gates on all three lines. We didn’t try this on our visit.
Here’s the useful part: qualifying adult fares are automatically capped at ¥830 on ordinary weekdays or ¥520 on eligible weekends and holidays. The subway’s payment day runs from 3:00 a.m. to 2:59 a.m. If your rides cost less, you pay less. If they would exceed that day’s cap, you don’t pay more for qualifying subway travel. No need to buy the adult pass first.
| Payment method | Best fit |
|---|---|
| Single paper ticket | A few rides without a usable card |
| Kitaca or other accepted IC card | Pay-as-you-go travel, especially with eligible connecting transport |
| Physical day pass | Enough subway rides to justify it, child fares or no eligible bank card |
| Contactless bank card | Eligible adult subway travel with automatic daily capping |
There are limitations. It’s one card or device per passenger, and you must use the exact same payment medium at both gates and throughout the day for capping. Your physical card and the version stored on your phone or watch count separately. Bank-card tap-to-pay charges adult fares only, doesn’t offer the usual eligible bus or streetcar transfer discounts, and its daily cap covers the subway—not Sapporo’s entire transport network.

Transfers and the Sapporo Station Gate Trap
Most line changes are straightforward, particularly at Odori. Sapporo Station is the exception worth remembering. When changing between the Namboku and Toho lines there, you leave one set of gates and enter the other within 30 minutes. With a paper ticket, exit through the designated yellow transfer gates and keep the ticket for re-entry. Accepted transport IC cards and eligible contactless bank cards can also handle the transfer if you follow the correct procedure. The official Sapporo Station transfer instructions are worth a glance before arriving with luggage or a tight connection.
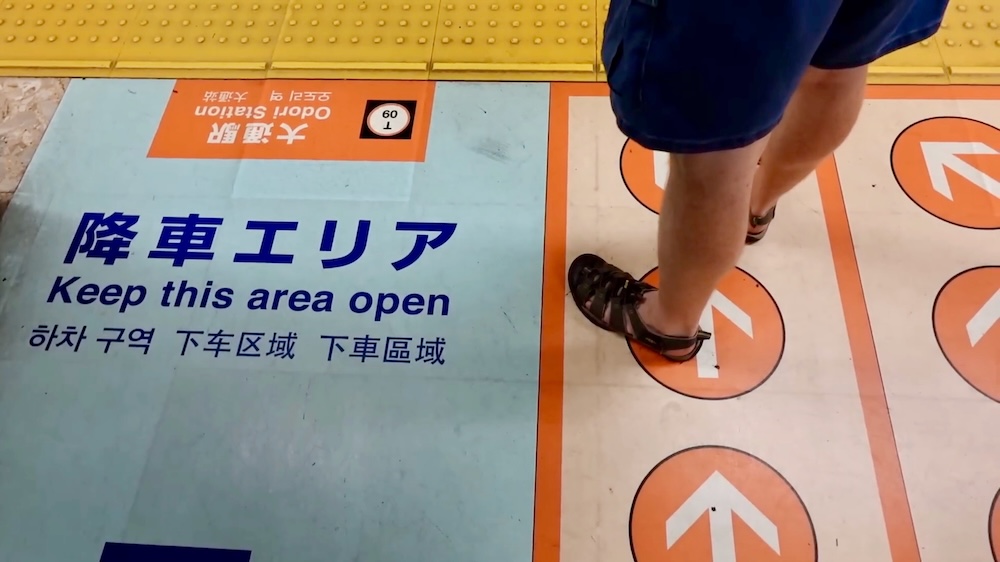
Bus and streetcar connections have different payment rules. Some combinations qualify for a reduced transfer fare with an accepted IC card; a subway day pass or direct bank-card payment doesn’t get that benefit. Our trip to Makomanai Takino Cemetery brought the point home: the train got us to Makomanai, but the bus was what took us farther into the wooded outskirts.
If you want to visit the Hill of the Buddha without arranging the subway and connecting bus, a guided Sapporo day tour including the Hill of the Buddha uses organised bus transport. It covers several sights over a full day, not just a cemetery transfer, and meals and some admissions cost extra.
If I were visiting again and sticking mainly to the subway, I’d start by checking whether my bank card was eligible and let the daily cap handle the maths. With children, several bus connections or an existing Japanese IC card, I’d compare the options first. Sapporo’s subway is simple to ride. Just don’t spend more on tickets than the journey requires.
This article contains affiliate links. If you book through one of these links, I may earn a commission at no extra cost to you.